SEVEN VEHICLES IN A THREE CAR GARAGE!

My philosophy with the cars has always been that I wanted to keep them near by. They are a source of enjoyment and I wanted to drive them on a sunny day, polish them on a whim, or work on them at my discretion. That required that they all be stored at home in my garage.
Our home was built in 2005 and the attached garage was, to some degree, designed with maximizing car storage in mind. It’s a three car garage with a 45 degree angle between the first and second bays. The angle creates an additional triangular space that makes it, in reality, a three and a half car garage. The third bay was built with a flat floor and the garage door rails and opener mounted near the ceiling to maximize clearance for a four post lift.
To ready the garage for the cars, I first painted the floor of the third bay in a black and white checkered flag look. Stage two included purchasing a four post lift that was assembled on the checkered floor. Assembly was easy, and, with the help of strong backed sons-in-law and a mechanically adept father-in-law, only took a couple of hours. The final purchase was a set of wheeled car dollies to allow moving cars around the garage.

Before deciding on the method to create the checker pattern, I took a look at commercially available tiles and compared them to paint. The cost of the tiles was about $1400 and the paint, along with painting supplies, was about $150. Even taking into account the greater durability of the tiles, I decided to go the paint route. Since the floor would not be exposed to hot tires (rubber runners would be installed on the wheel paths) or road salt, durability of the painted floor would not be a problem.
I first power washed and etched the concrete floor. I then painted the entire floor with two coats of white garage floor paint. The next stage was time consuming and included laying out the pattern, establishing the squares with a chalk line and then masking along the chalk lines. The final stages included two coats of black paint within the masked areas followed by a clear sealer over the whole floor. It took a fair amount of time to complete but turned out great.
Packaging the cars in the garage was an exercise in careful planning. Here’s how it was done.
The Bel Air being the least used of the vehicles occupies the lift. The Camaro is parked under the Bel Air with the ’57 Corvette at 90 degrees behind the lift. The truck is parked at an angle in the triangular space with a small part of the bed extending into the second bay. The ’31 is moved on wheel dollies to the back wall of the second bay and the ’06 Corvette fits nicely in the remainder of the bay. That takes care of all six of the collector cars. The first bay holds my wifes Lexus RX. She insists on a bay to herself.
THE GAS PUMP
I wanted to make the garage more than a storage place for the cars so I started looking for other collectibles to add to the automotive ambiance. One of my early additions was a vintage gas pump.
After a few months of searching I found a late ’30s Bowser pump for sale on Craig’s list in Oil City, PA. I called the owner to discuss details about the pump and then drove two and a half hours with my son-in-law to Oil City.
We arrived to find the condition of the pump a little worse than advertised. Most of the parts including the computer were there, but the sheet metal was dented in spots and also had some surface rust. The seller wanted $400 for the Bowser which was a little high for what I saw. After attempting to negotiate a better price, I got nowhere but did get him to throw in a nozzle. If we hadn’t invested so much time on the trip to Oil City it would have been easier to say no to his price. On the way home even my son-in-law thought I overpaid. So be it. Now it was time to restore the pump.

I started by hand sanding three different layers of paint (and corresponding gasoline company color schemes) off the four exterior sheet metal pieces. I then pounded out some of the dents and filled the others with body filler. After many more hours of sanding, the panels were ready for painting.
Early on I had decided to restore the pump to Shell colors of the late ’30s. I had no particular affinity for the Shell brand, but I thought their colors would look great in the garage. A friend of mine worked with Dupont and was able to find the correct Shell Red and Shell Yellow paint formulation for that era.
I had figured on having the sheet metal painted by a friend of mine who paints cars. However, a few days before taking him the parts, I was driving on a rural road not far from home when I noticed a house set well back from the road. Behind the house sat a small restored gas station. In front of the station were two restored gas pumps. I had driven by the house hundreds of times before, but never noticed the gas station recreation.
I decided to stop in to see the owner who turned out to be a very nice fellow who was quite knowledgeable about gas pump restoration. I told him about my project and that I was at the painting stage. He mentioned a friend of his who had restored pumps and was an excellent painter. I thanked him and called his friend who suggested we get together and talk about my pump.
The meeting went well and I was impressed by his experience. He was also a car guy who owned a Model A Ford, a beautiful ’49 Mercury street rod and a Nova that he drag raced. I gave him the pump parts and headed home confident that I had done the right thing. In the mean time I began restoring the pump frame.
It never ceases to amaze me how large and interconnected the automotive collector hobby has become. Randomly driving down a local street and finding an individual who knew another individual who had skills that I needed is probably not really that surprising. My guess is that sort of thing happens all the time within the fraternity of automotive enthusiasts.
As it turns out, the painter did a great job, and, in addition, he was able to straighten and polish the chrome trim pieces that came with the pump. He also sold me a 1931 Ohio license plate to register on the ’31 Chevy. It was now time to get the computer working.
The mechanical computers of that era were a marvel of gears and shafts that did a remarkable joy of accurately recording volume and cost. My ultimate goal was to attach an electric motor to the computer shaft and have it controlled by a micro switch in the nozzle handle. When the handle was squeezed the motor would turn the gears and the rotating numbers would simulate actually pumping gas.

A mechanical marvel
The computer supplied with the pump didn’t work, so I called my buddy Rick to take a look at it. Rick has a mechanical mind like no other, and, if he couldn’t get it to work, no one could. Sure enough after a couple of hours in Rick’s basement he had the computer working just as it had seventy plus years ago. We set the gasoline cost at 20.9 cents per gallon just like the late ’30s and I began to reassemble the pump.
I first built a shelf under the computer in the reconditioned frame to hold the 50 rpm motor that would turn the dials. I then, with the help of a couple of buddies, installed the micro switch in the nozzle and ran the wires down a new hose I had bought from Vic’s 66. Vic’s is an excellent source of vintage gas pump parts.
I finished the electrical work by wiring the motor, the globe light and the two lights that would illuminate the face plates. The power source was routed through a toggle switch that activated all the electrical devices in the pump.
It was now time to install the sheet metal, the hose, the globe and Shell decals. All-in-all the reassembly of the pump went easier than expected and turned out quite well. Everything worked as planned, and, as I stood back to take a look, the $400 paid for the original pump didn’t seem so bad.

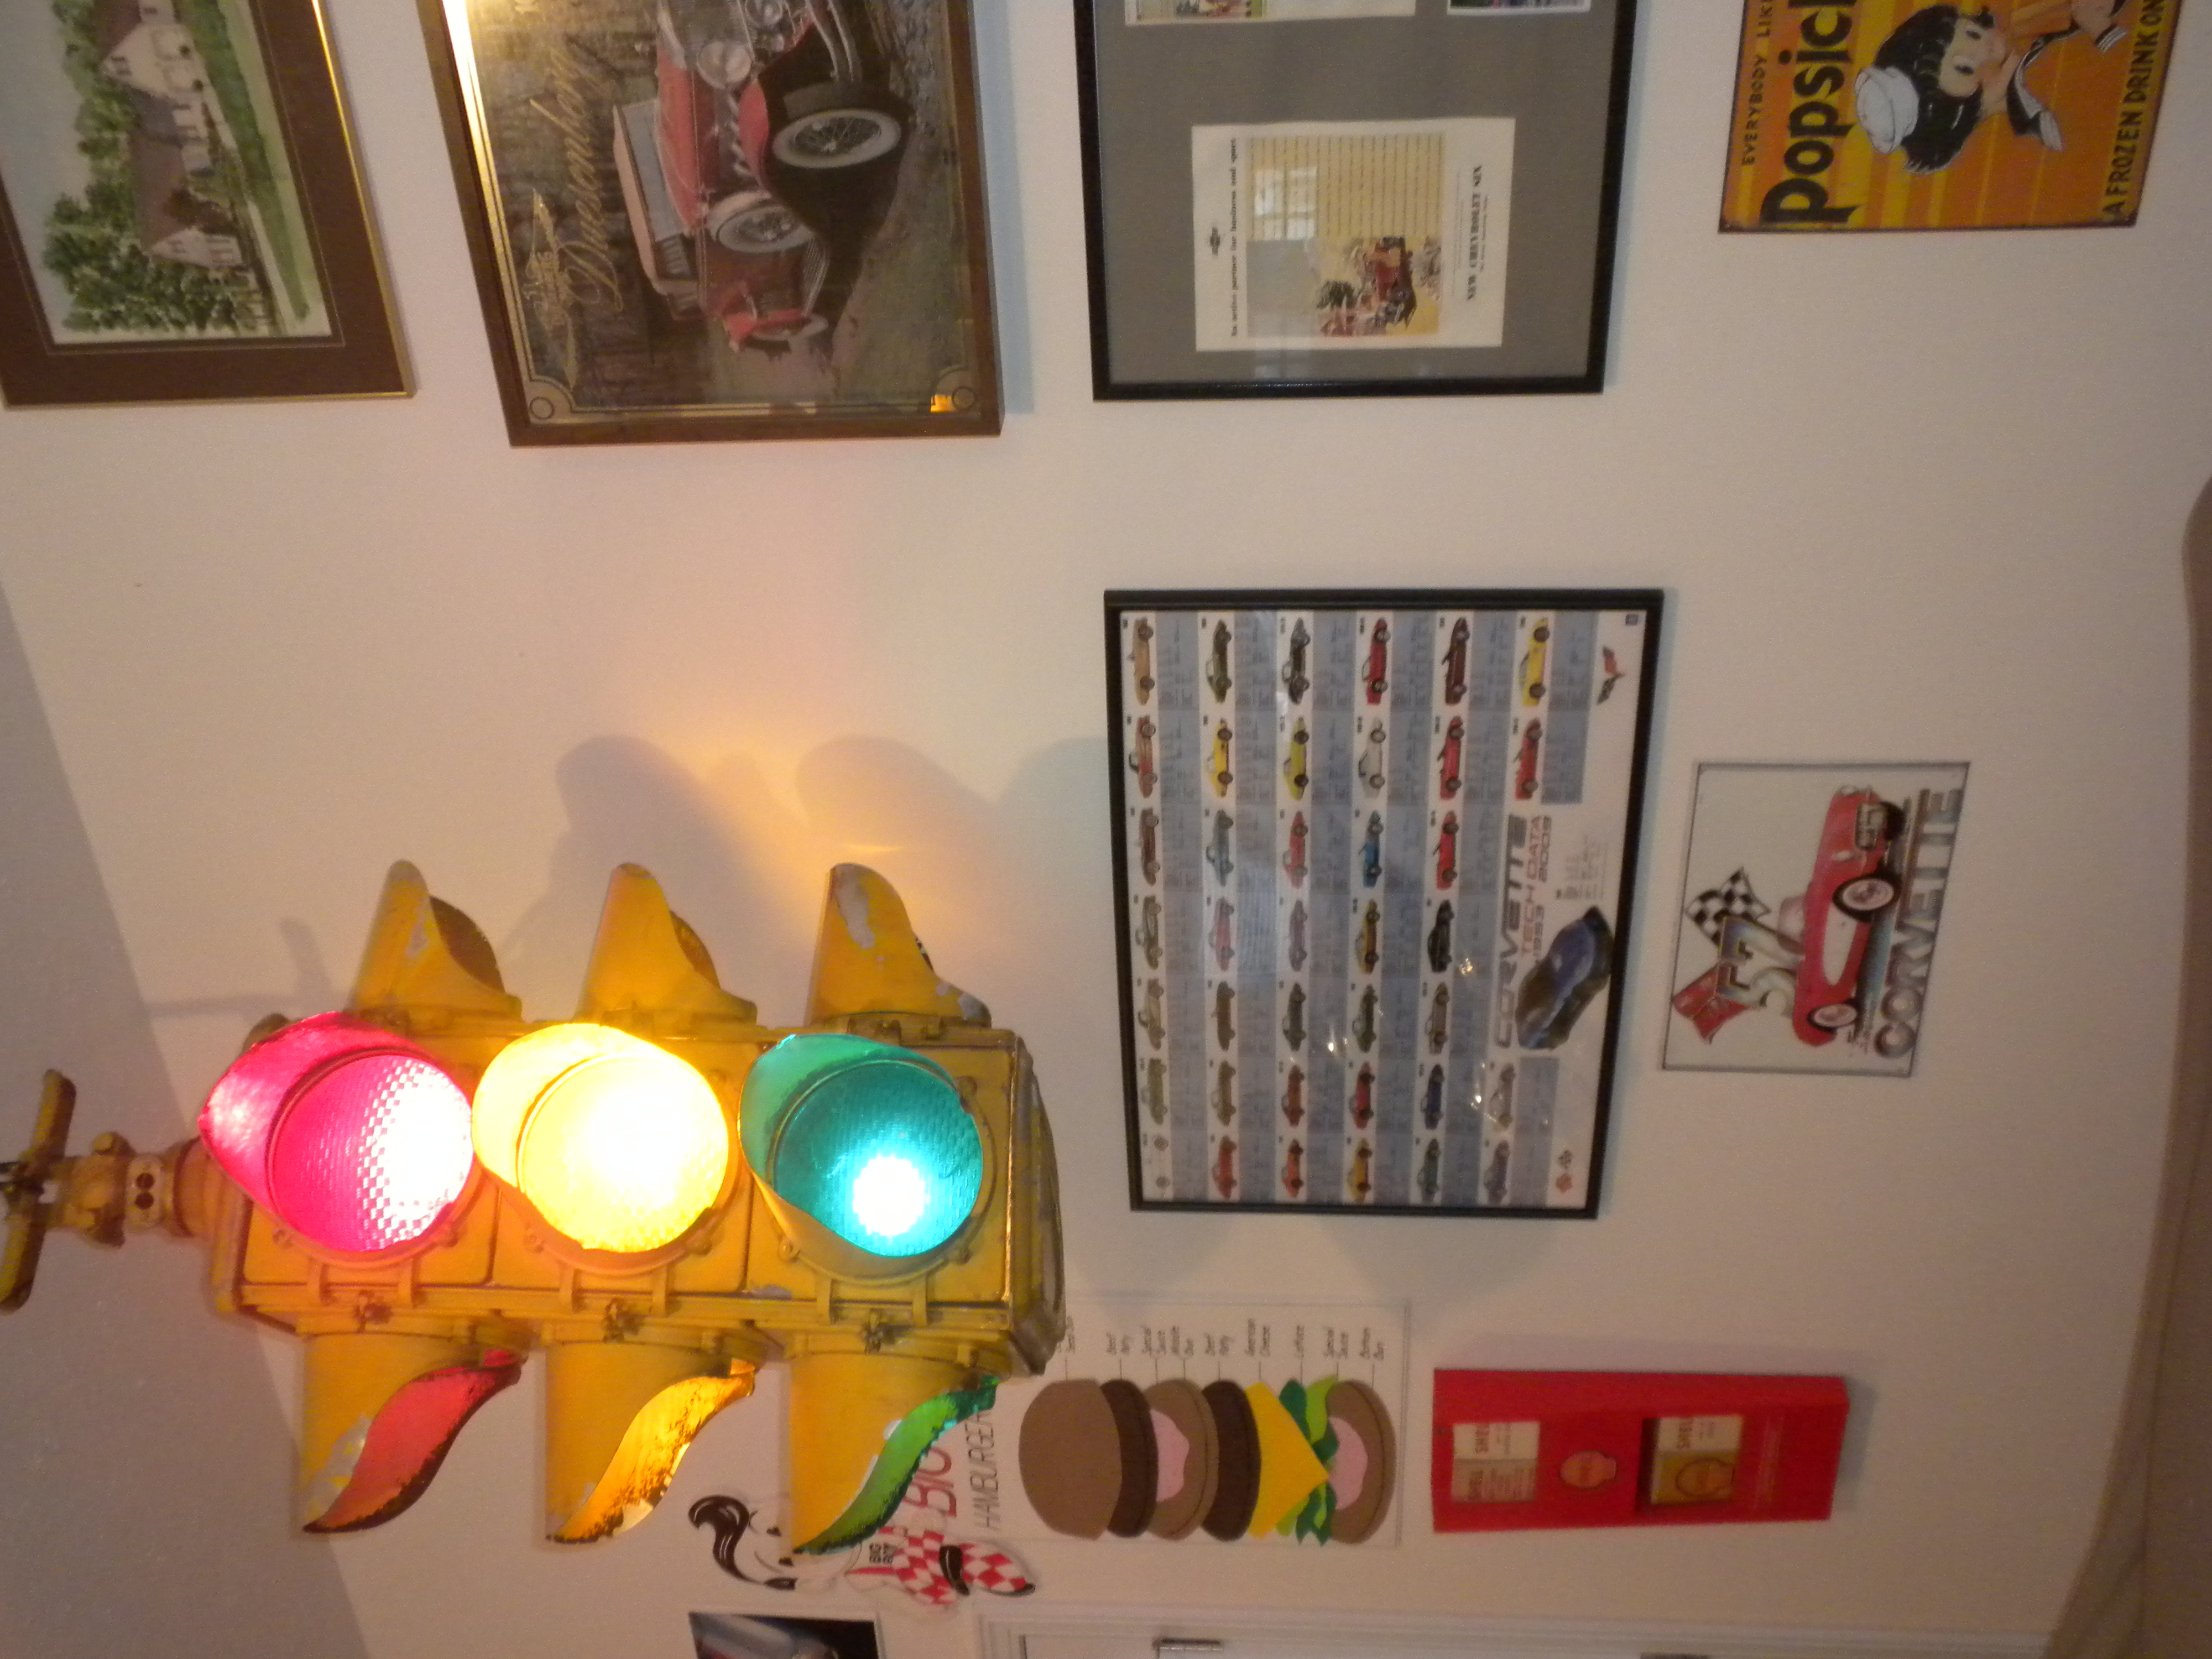
TRAFFIC LIGHT
A few years ago Rick had picked up a four way traffic signal that had be damaged by a truck and taken out of service. He had stored it in his basement since then, but decided it would be better hanging in the garage.
After hauling the light home, I began a thorough cleaning with the intent of restoring it to original. While cleaning the traffic signal I realized the chipped paint, dents (especially the large one on the bottom caused by the truck), and the cracks in some of the lenses represented years of exposure to natural and man made elements and should be left alone. So, I fixed the reflectors on the inside, redid the wiring, and added new light bulbs. Other than the cleaning, that was about it.
Early on I had decided that I wanted to wire the lights in the unit so that each of the three colors could be operated. This was easily accomplished by rewiring the lights so that each light could be independently operated by one of the rockers in a wall mounted three rocker unit.
With the cleaning and wiring completed it was time to hang the traffic signal. After a location in the garage was picked, the only remaining concern was sufficient support. The light was big and heavy. The last thing I wanted was for it to come crashing down on one of the cars. So, I went into the attic, bridged two roof trusses with a pair of two by fours, and suspended the light on a cable attached to the bridge.
It all turned out very well. My oldest grandson now enjoys showing visitors his skill at manipulating the combination of red, yellow, and green lights. His enjoyment is my enjoyment.
OTHER STUFF
Two years ago I found two 1940s restored gumball machines on ebay so I bought them and filled them with candy and trinkets. The grand kids love to pester their parents (and grandparents) for coins to pump into the machines for a treat.
I also found in Savannah, GA on Craigs list a vintage styled refrigerated Coca Cola cooler. Mounted on the wall above the cooler is a framed original Coca Cola advertising poster from 1944.
A friend gave me a parking meter that he had knocked over in his youth and then thrown into the trunk of his car. I restored the 1956 Mico meter cosmetics and Rick rebuilt the internals so that a penny now gives twelve minutes of parking and a nickel an hour.
Other stuff includes Shell Gasoline state maps from the 40s, vintage drawings and posters of the cars, Chevy memorabilia, traffic signs, a vintage styled radio, and numerous trophies and plaques.
The cars and memorabilia in the garage make it a great place to hang out with friends or a place to escape to listen to a ball game on a warm summer night.

Great work Phil. Interesting and entertaining reading. Thanks
By: Frank Volgstadt on January 21, 2011
at 2:57 pm
Frank, thanks for the input. Stay tuned every couple of days. I’ll try to update the blog with new information.
By: Phil's Classic Chevys on January 22, 2011
at 3:55 am
Hay phil, thanks for all your help, the car runs great now
By: Hay Rick on January 23, 2011
at 3:32 pm
Definitely a labor of love! I’m thinking about painting my garage floor too but probably with the flakes and light grey color. Any suggestions on who has the better paint?
Keep up the great work on the blog!
By: Fred Dugach on April 6, 2011
at 5:14 pm
Thanks Fred. I am far from a paint expert when it comes to garage floors. I wasn’t real concerned about durability for my floor since the cars would be in and out relatively infrequently and I had planned to put down rubber runners on the tire paths. I did, however, etch the floor first with an acid wash before painting. I bought all the products at Lowes. I have a friend who did the gray with the colored flecks. In fact his wife did it. The floor turned out well and after about three years of use it is holding up fine. His floor was in a new garage. I know that some floors that have been sealed can cause more of an adhesion problem. The paint people at Lowes were quite helpful in selecting the right products for my application.
By: Phil's Classic Chevys on April 10, 2011
at 4:57 pm
Phil
I am in the process of restoring a mess.. a 55 3100 2nd series 1/2 ton. right now I am under the dash working right to left, and installing the heater core box,etc.. I had to get a new heater core, however the rest of the unit is in boxes. could you please assist me in sharing some basic photos of how the fan blowe/box, and heater core/box goes together and installs under the dash. you can email me at Rodney.r.krause@gmail.com thanx! Rod K also if anyone else can help me here I would greatly appreciate it. Rod
By: Rod krause on September 16, 2014
at 10:49 am
Rod,
I wish I could help you, but my truck doesn’t have a heater (or radio). It’s pretty much bare bones basic. If anyone else has any ideas please post them to help Rod. We’ve all been in those situations where a little incite would make the job go a lot easier
By: Phil's Classic Chevys on September 16, 2014
at 8:29 pm