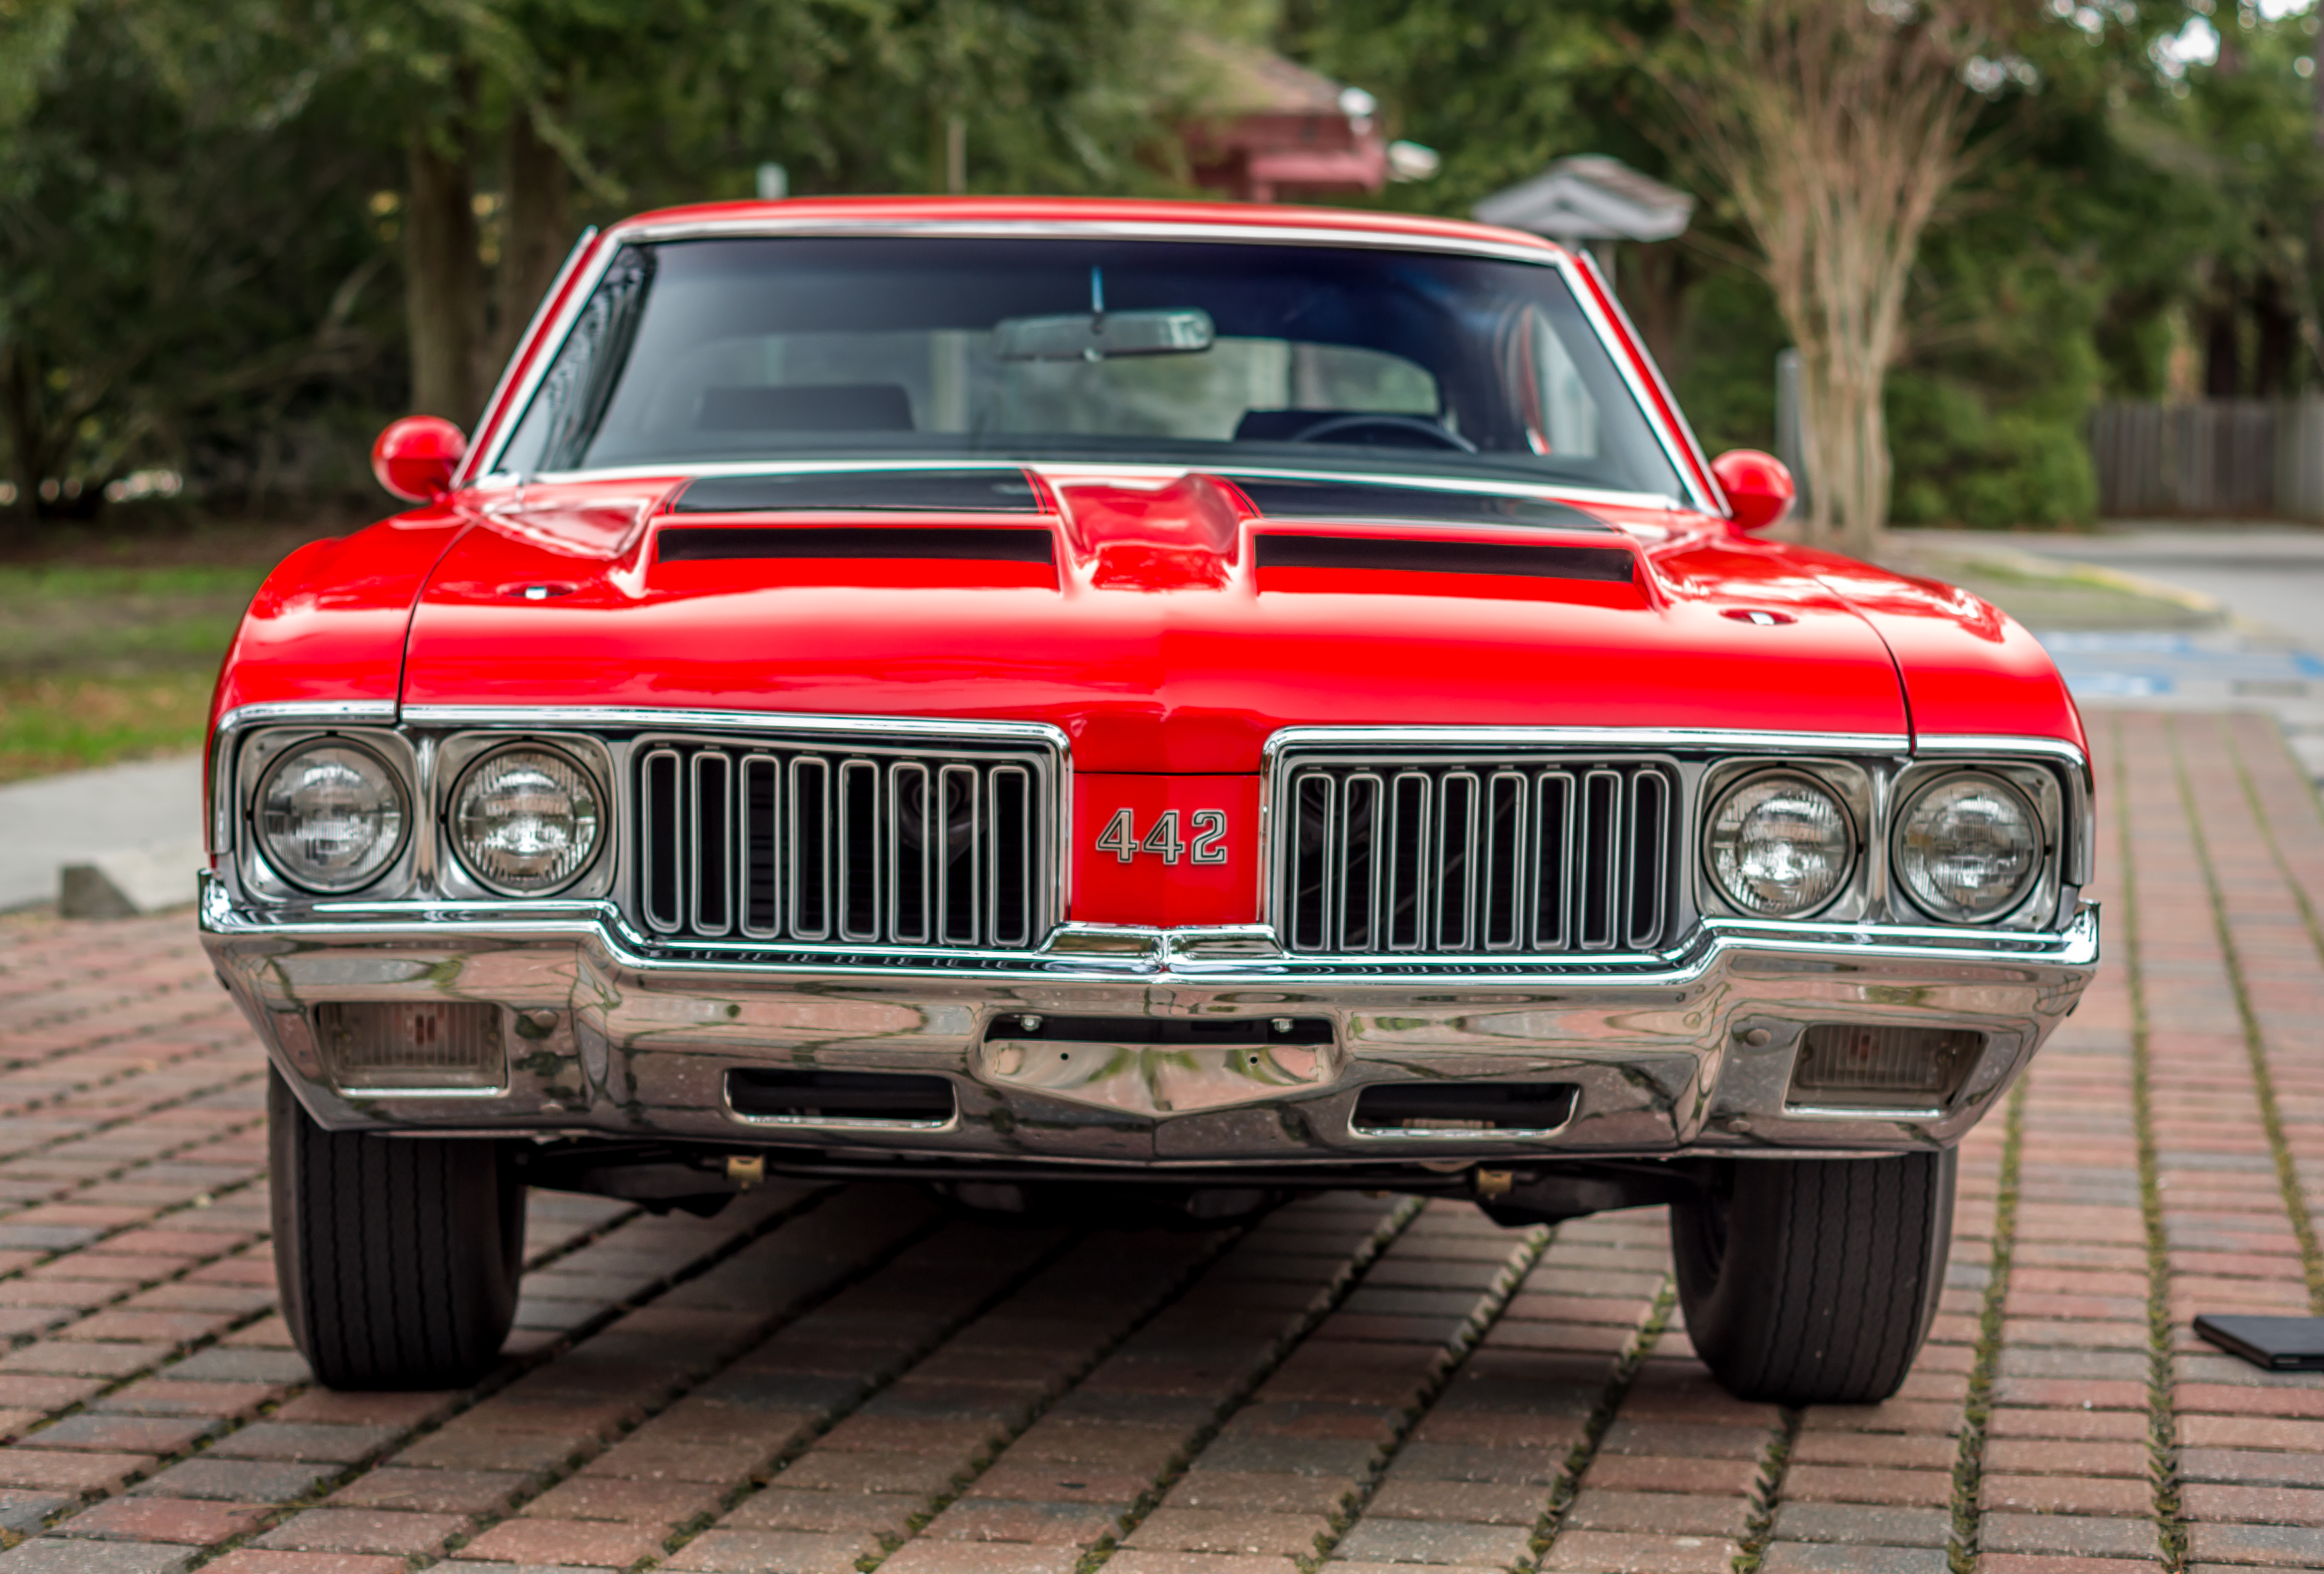
This year’s winter project, the 1970 Olds 442 W30, arrived in mid January. In the trunk came all the parts and tools that would be needed for our restoration work.
Before the car left home, I replaced the bumpers, front seats, headliner, and grille trim, and had the car wet sanded and buffed. The paint work was worth the effort as the single stage Rally Red paint shone beautifully.
The car arrived shortly after my co-restorer from the previous two winters, Gene, arrived on the Island. Gene had proven a very capable assistant in the past, and I looked forward to working with him again. His knowledge and patience were much appreciated assets.
Our first task was installation of the rear spoiler. Before leaving home, I had the three piece fiberglass unit painted body color. After researching the correct location on the trunk, we carefully measured (and re-measured) then drilled the mounting holes. Fortunately our care paid off as the spoiler fit perfectly.
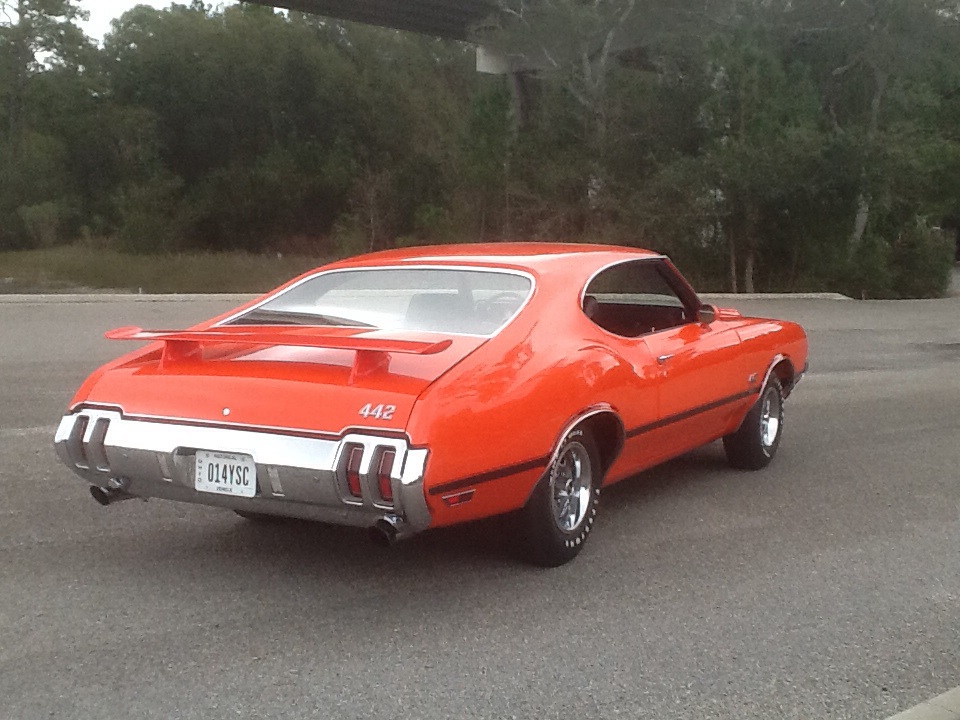
The installed spoiler.
After admiring our work on the spoiler, we decided to tackle the wheels. The Super Stock II wheels on the car were in good shape, but they were painted black, and the correct color was charcoal gray. After removing the wheels, we unsnapped the five trim rings on each wheel, and sanded each one in preparation for painting. The wheels were then primed and painted the factory correct charcoal gray. All of the chrome elements were cleaned and polished and re-installed on the wheels.
Before mounting the front wheels, we cleaned the inside of the red plastic fender liners. The red fender liners are a recognizable part of the W30 option. Cleaning them involved some experimentation that included a combination of old fashioned soapy water scrubbing and light sanding. The finished wheels looked great, and we remounted them on the car.

Correct wheels.
Everything worked on the car with the exception of the radio, backup lights, and some of the dash lights. We decided to tackle the backup lights. It sounded easy, but, not surprisingly, it was more complicated than we anticipated.
The backup lights on four-speed 442s are activated by a series of three rods that run from the reverse lever on the transmission to a switch on the steering column. The column switch also prevents removal of the ignition key unless the car was in reverse. Except for the switch, the whole assembly was absent.
After ordering a new assembly, we laid out the parts and studied the installation instructions. Although the work seemed relatively simple, the actual installation was quite frustrating. Most of our difficulties were due to the very tight working area around the transmission. Patience finally prevailed, and the installation went well. After a few adjustments, the backup lights and ignition key release worked as designed.

After much research, I found the correct working radio on eBay and we replaced the dash lights. We also replaced the exterior door handles and quarter window trim. The door handle replacement involved removal of the door arm rests and inside door panels to get access to the attachment studs.
The center console was then removed. Although it was in good overall shape, it needed sprucing up. Each piece was removed and thoroughly cleaned. The chrome accent areas were refreshed, and new mounting screws were purchased. The re-installed console looked great.

Spruced up interior.
We next moved to the engine compartment. First we removed the hood and hood hinges. After a thorough cleaning, we painted the hood correct under-hood black and the hinges correct bare steel. Next we removed and sanded the valve covers, and repainted them correct Olds blue.
While the valve covers were off, we cleaned the aluminum intake manifold, and cleaned and painted the exhaust manifolds. After reinstalling the valve covers we added the correct wire holders and lifting hook. We then masked the engine and body areas and painted the cowl and firewall. After cleaning the red fender liners and installing a new washer bottle and decals, the engine compartment was complete.
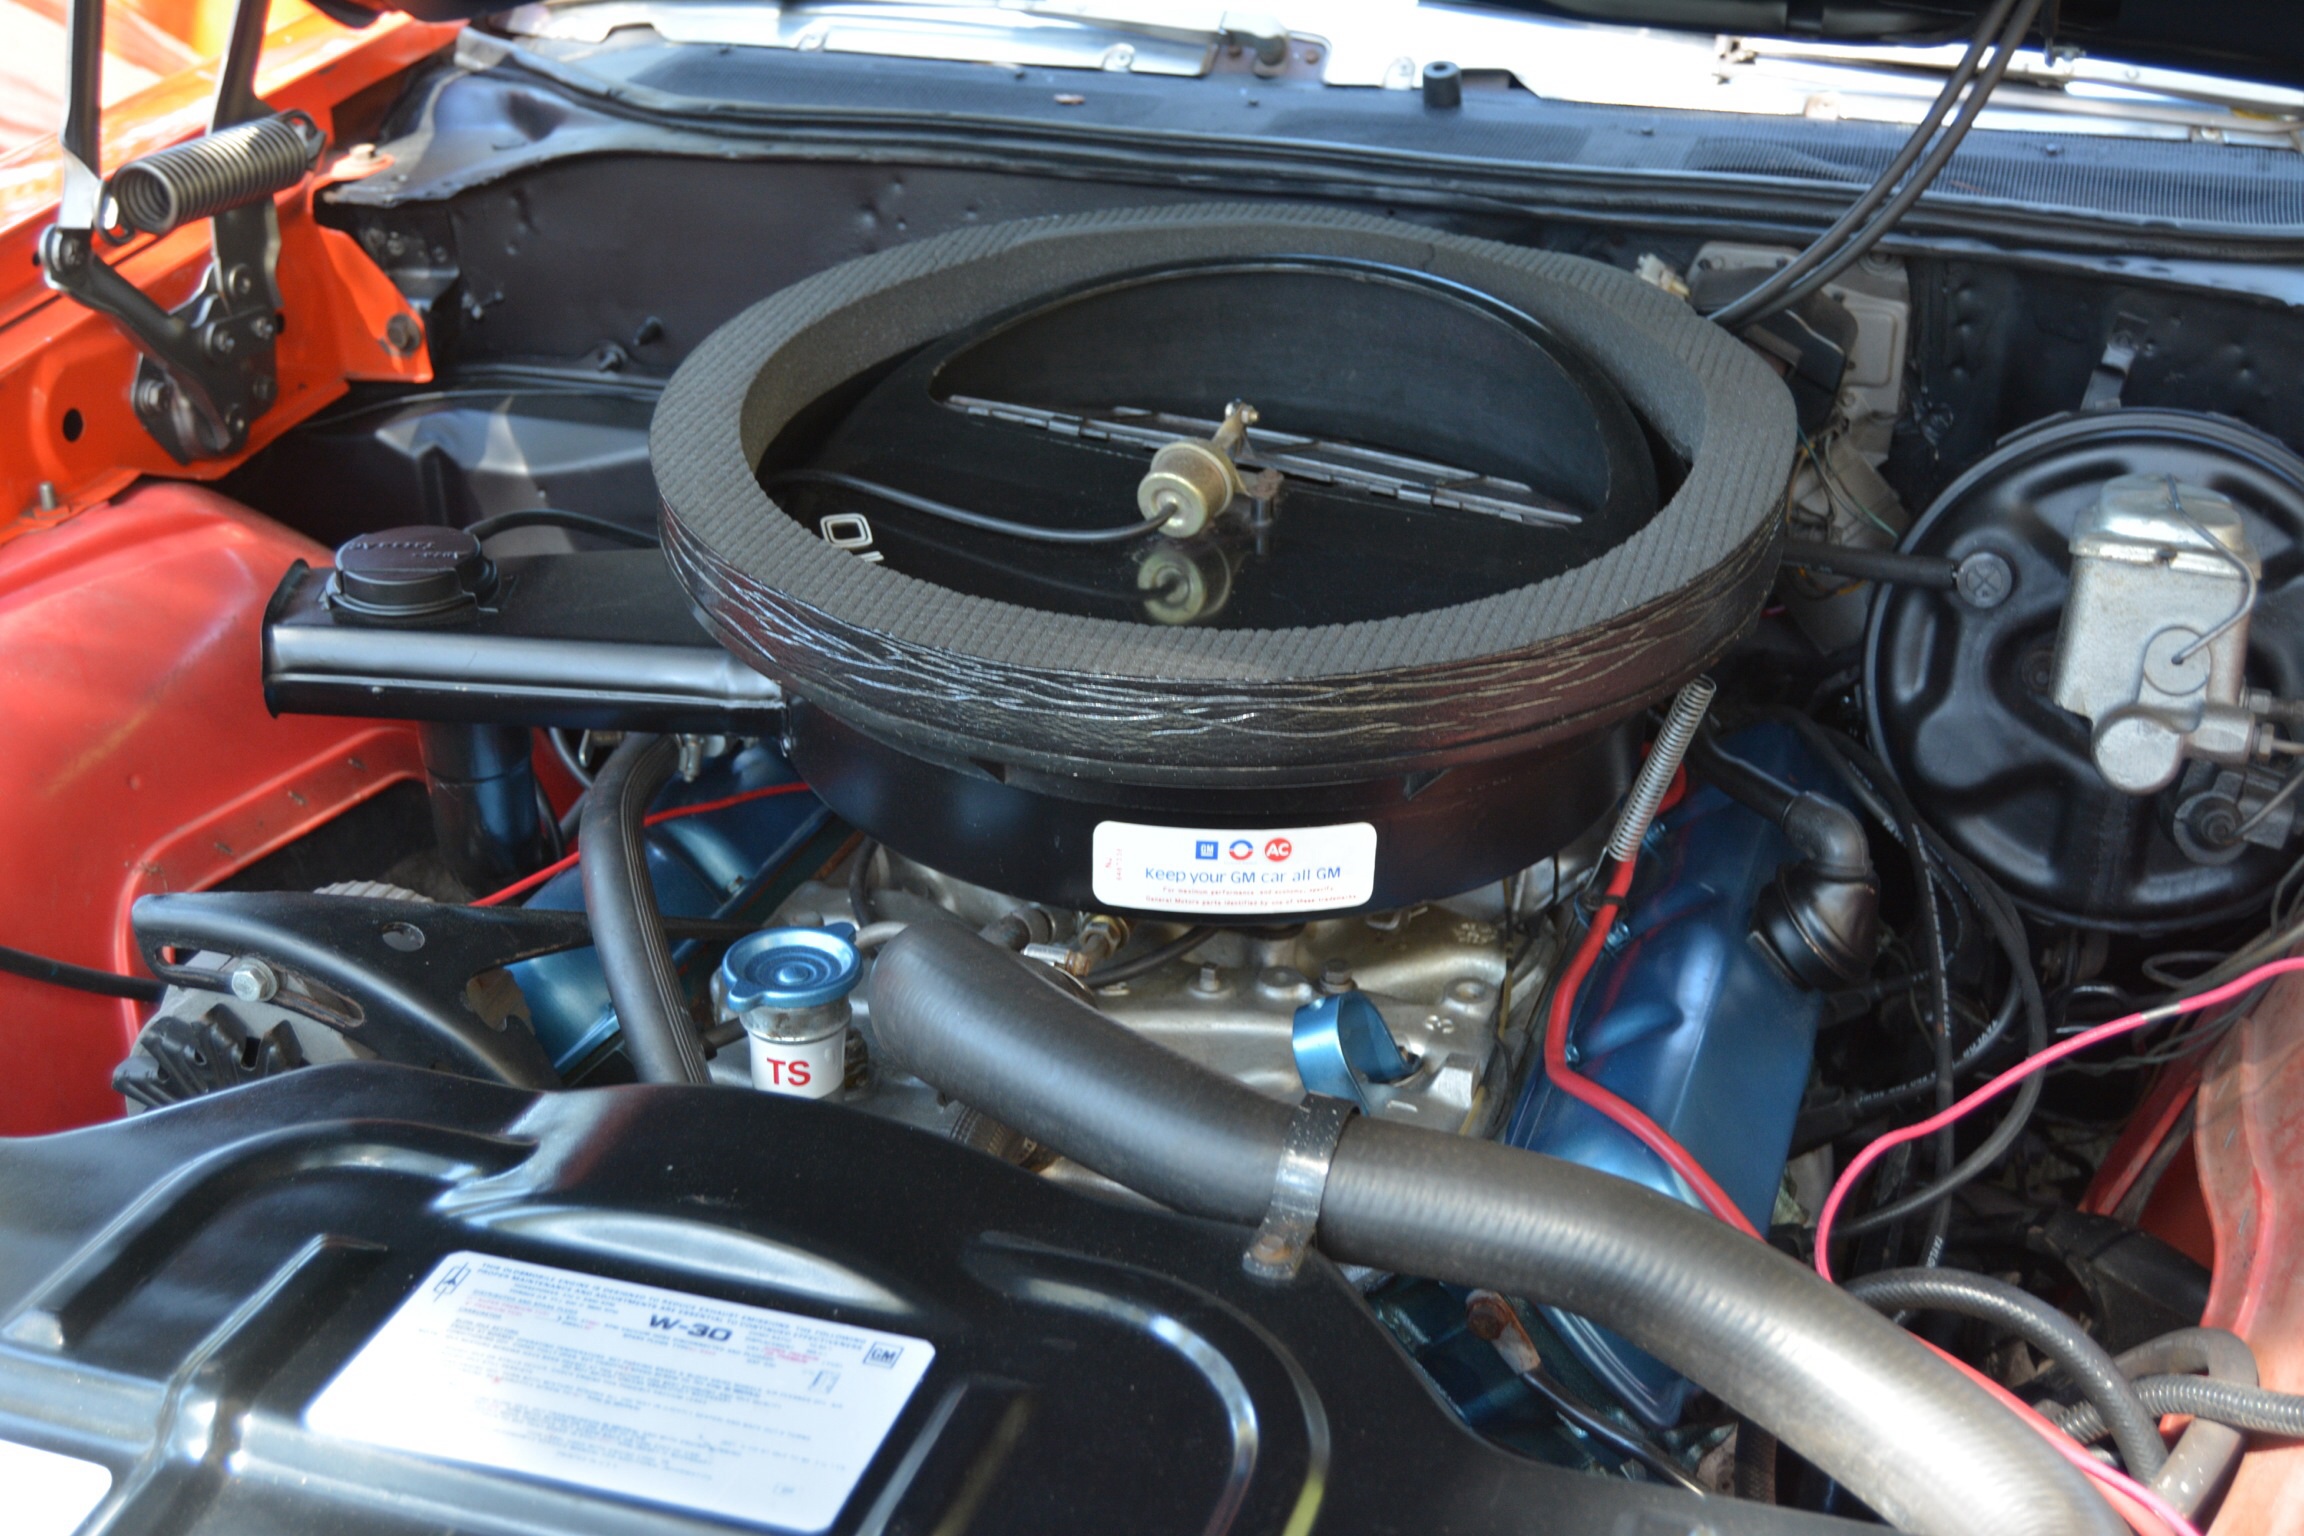
Completed engine compartment.
Moving to the rear of the car, we next tackled the trunk. Since the car did not have a spare, I found one on eBay and cleaned and painted it the correct charcoal gray. I then had a correct bias ply tire mounted on the rim, I also bought a jack and spare tire hold down bolt and painted the jack and base. The trunk floor was in very good shape and only required minimal spatter paint touch up.

The completed trunk.
With the exception of a few remaining minor items, the car was pretty much done. It was time to take the car on a photo trip to scenic places on the island. Here are some of those photos.
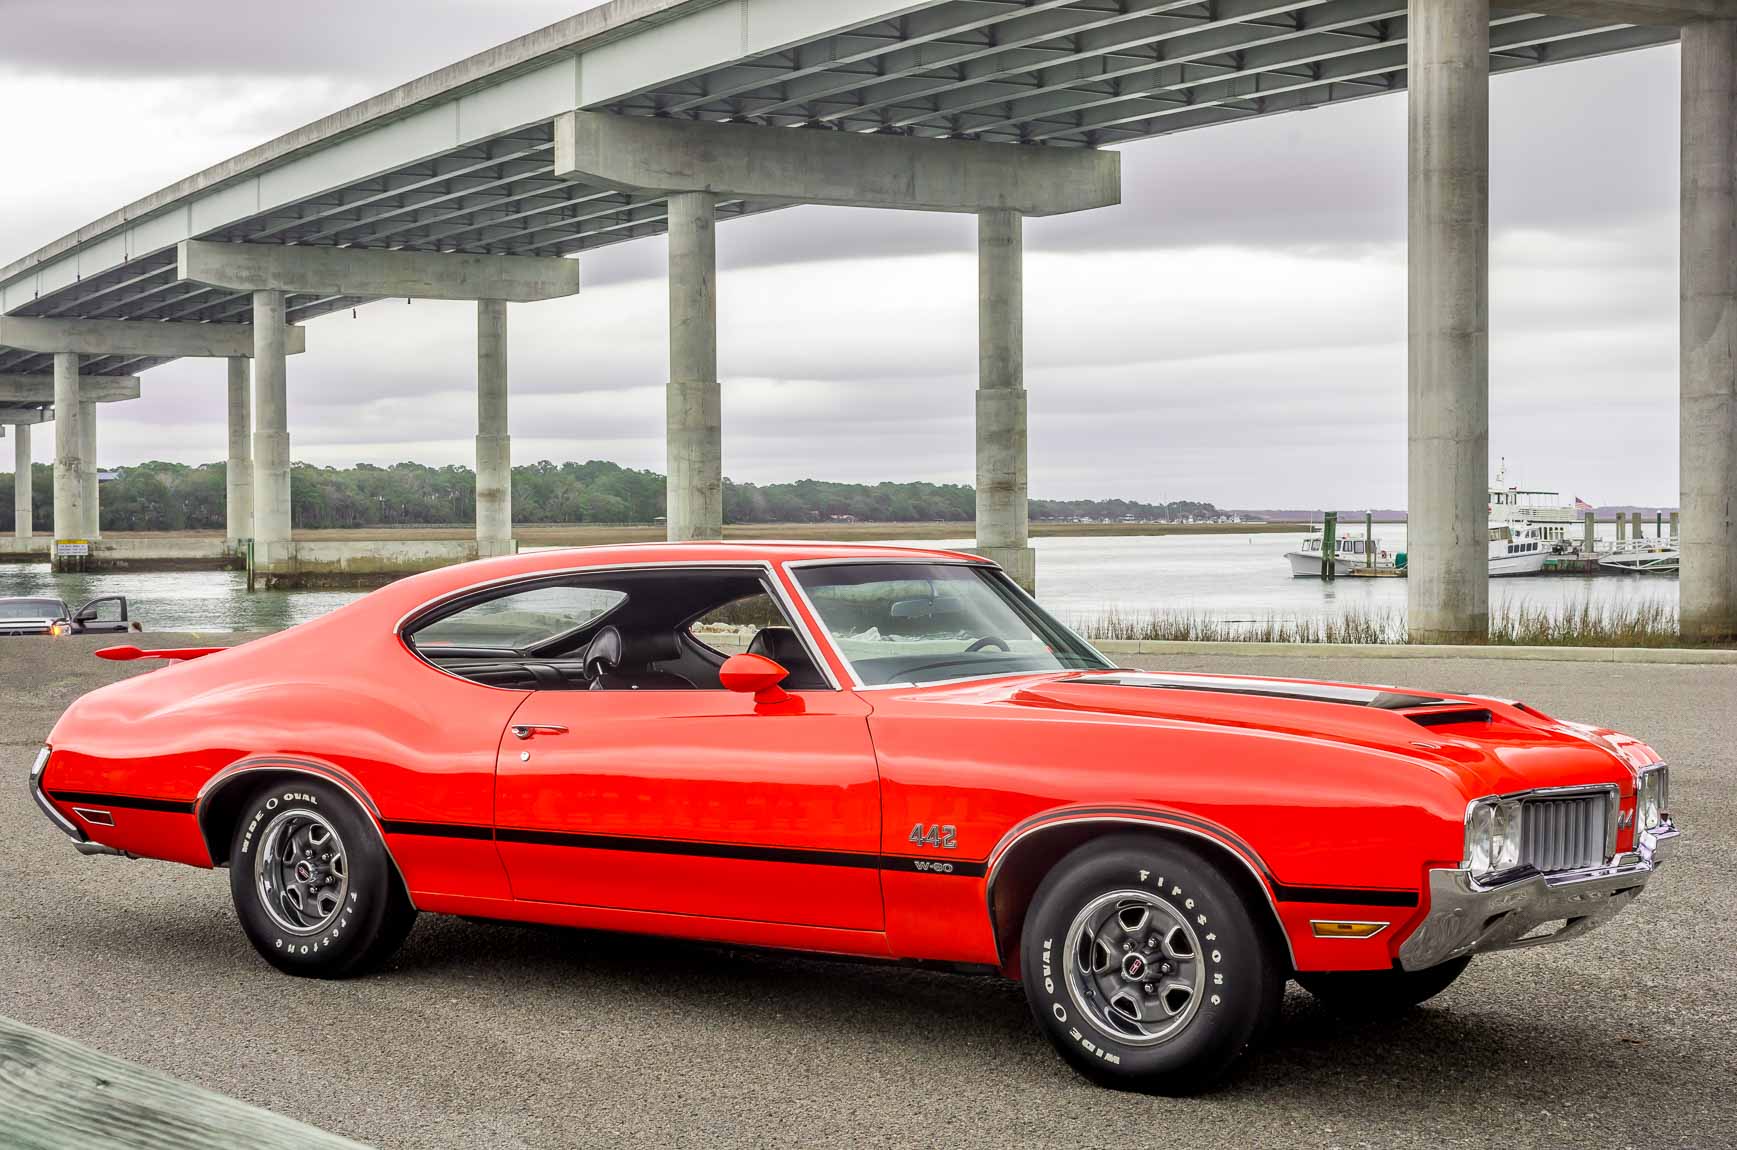

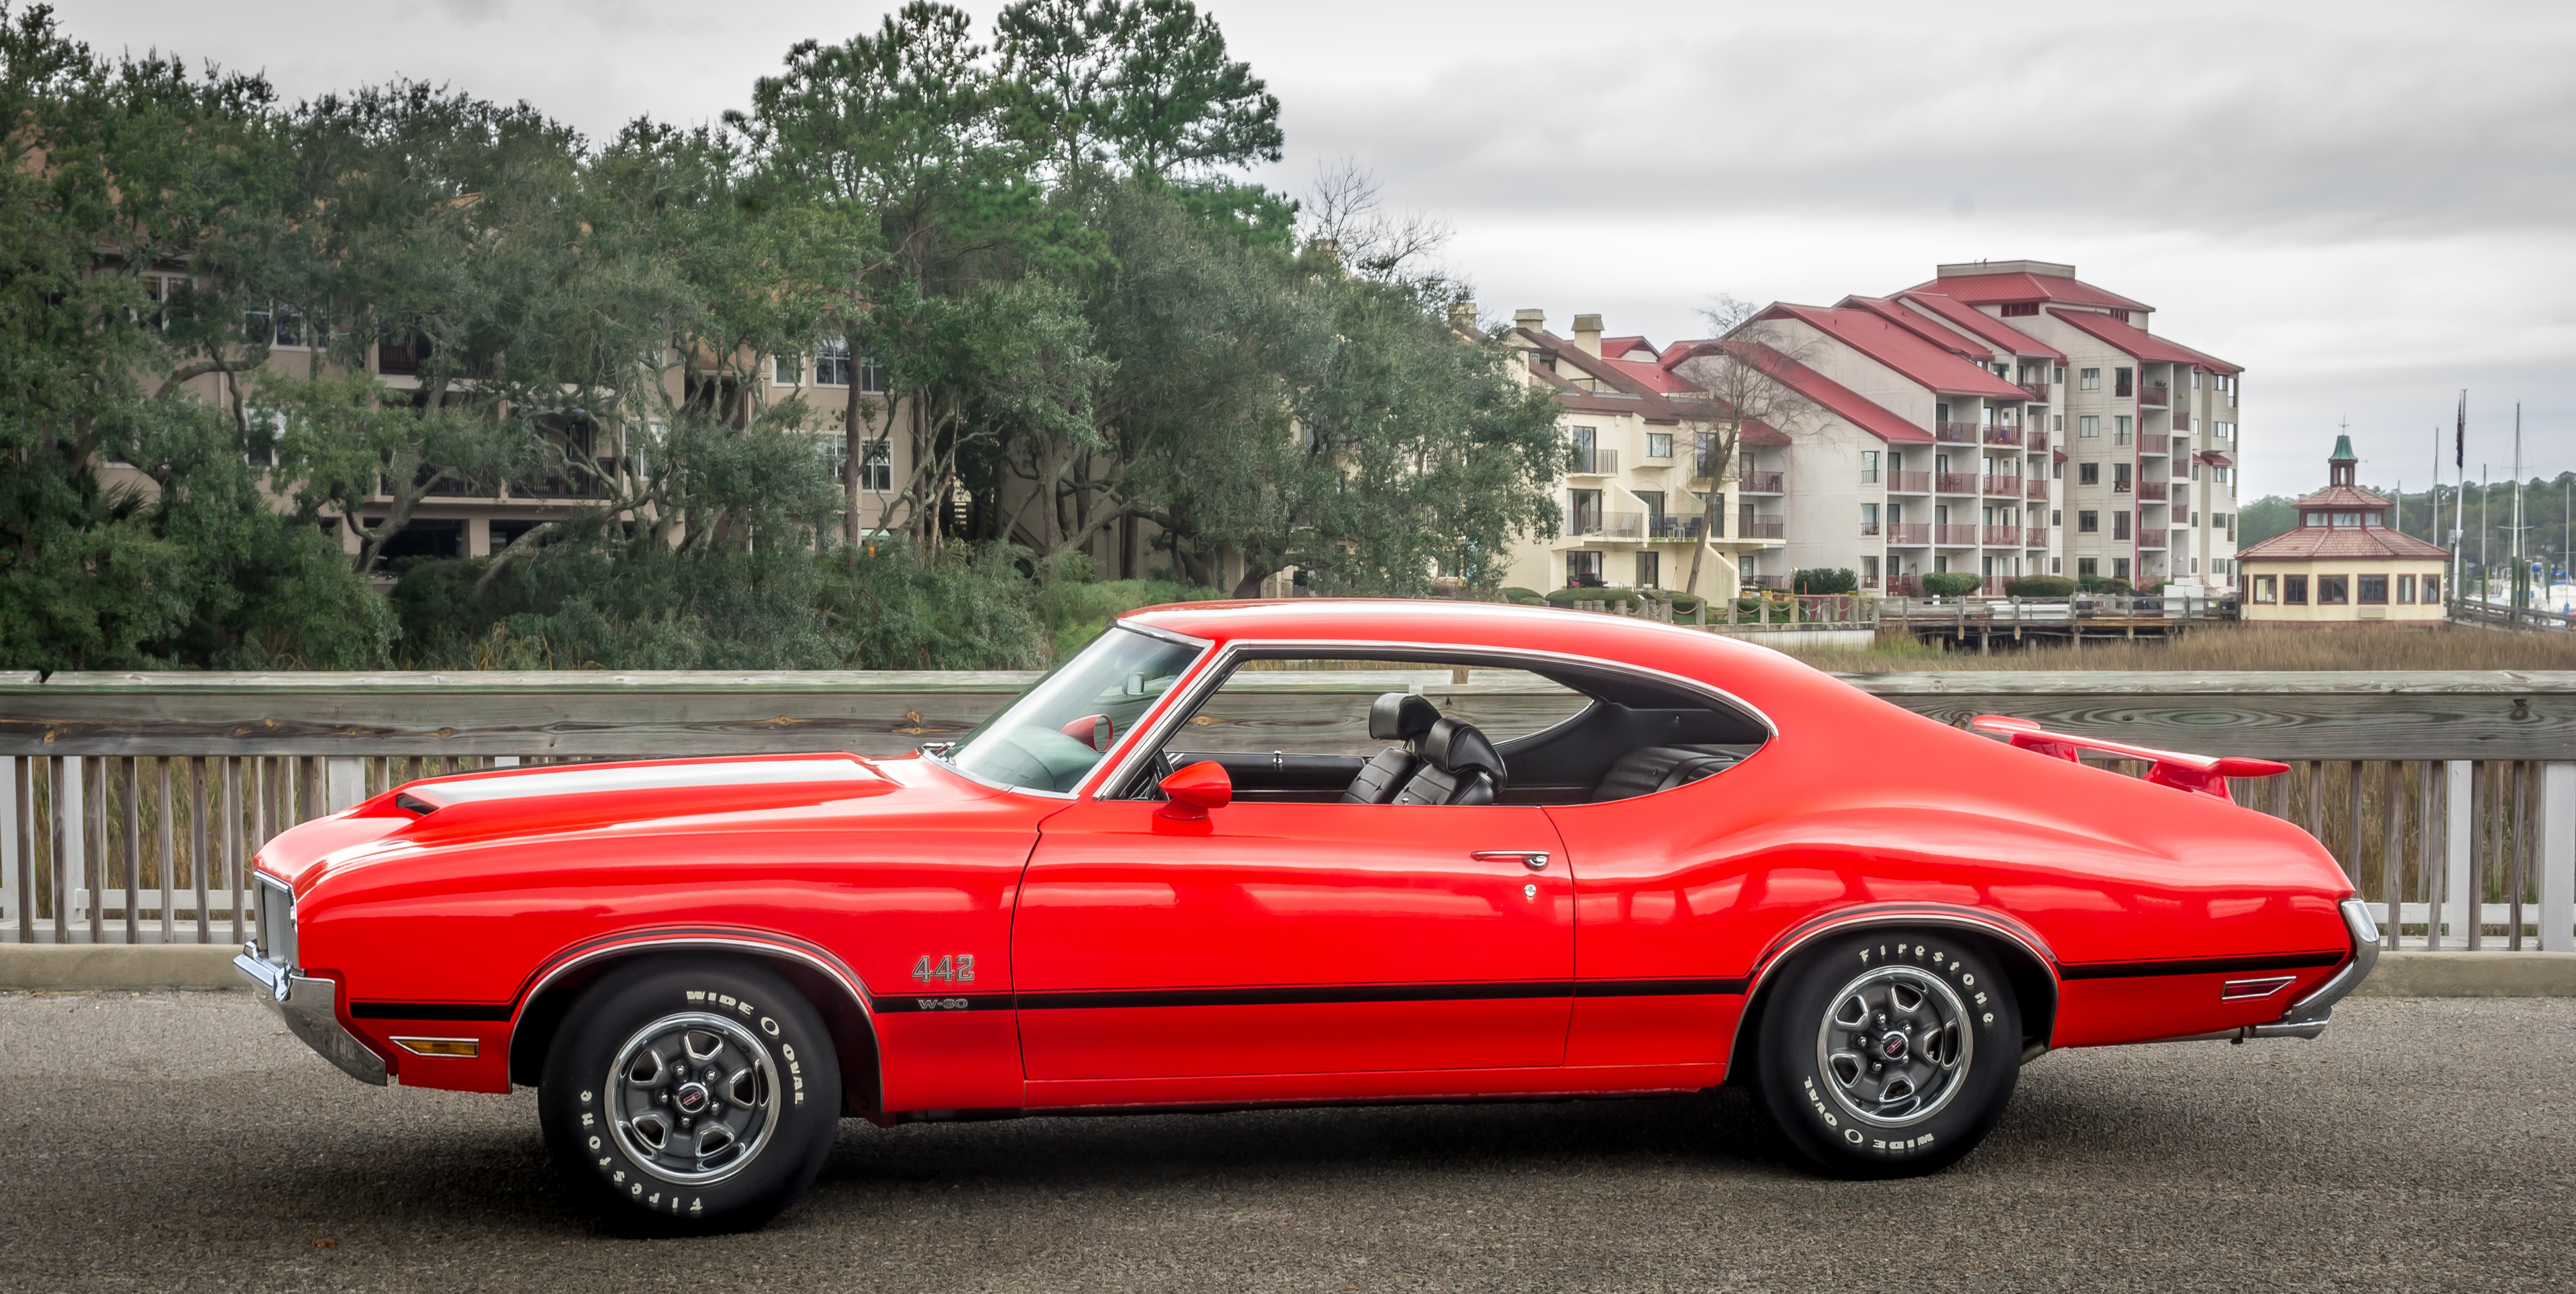

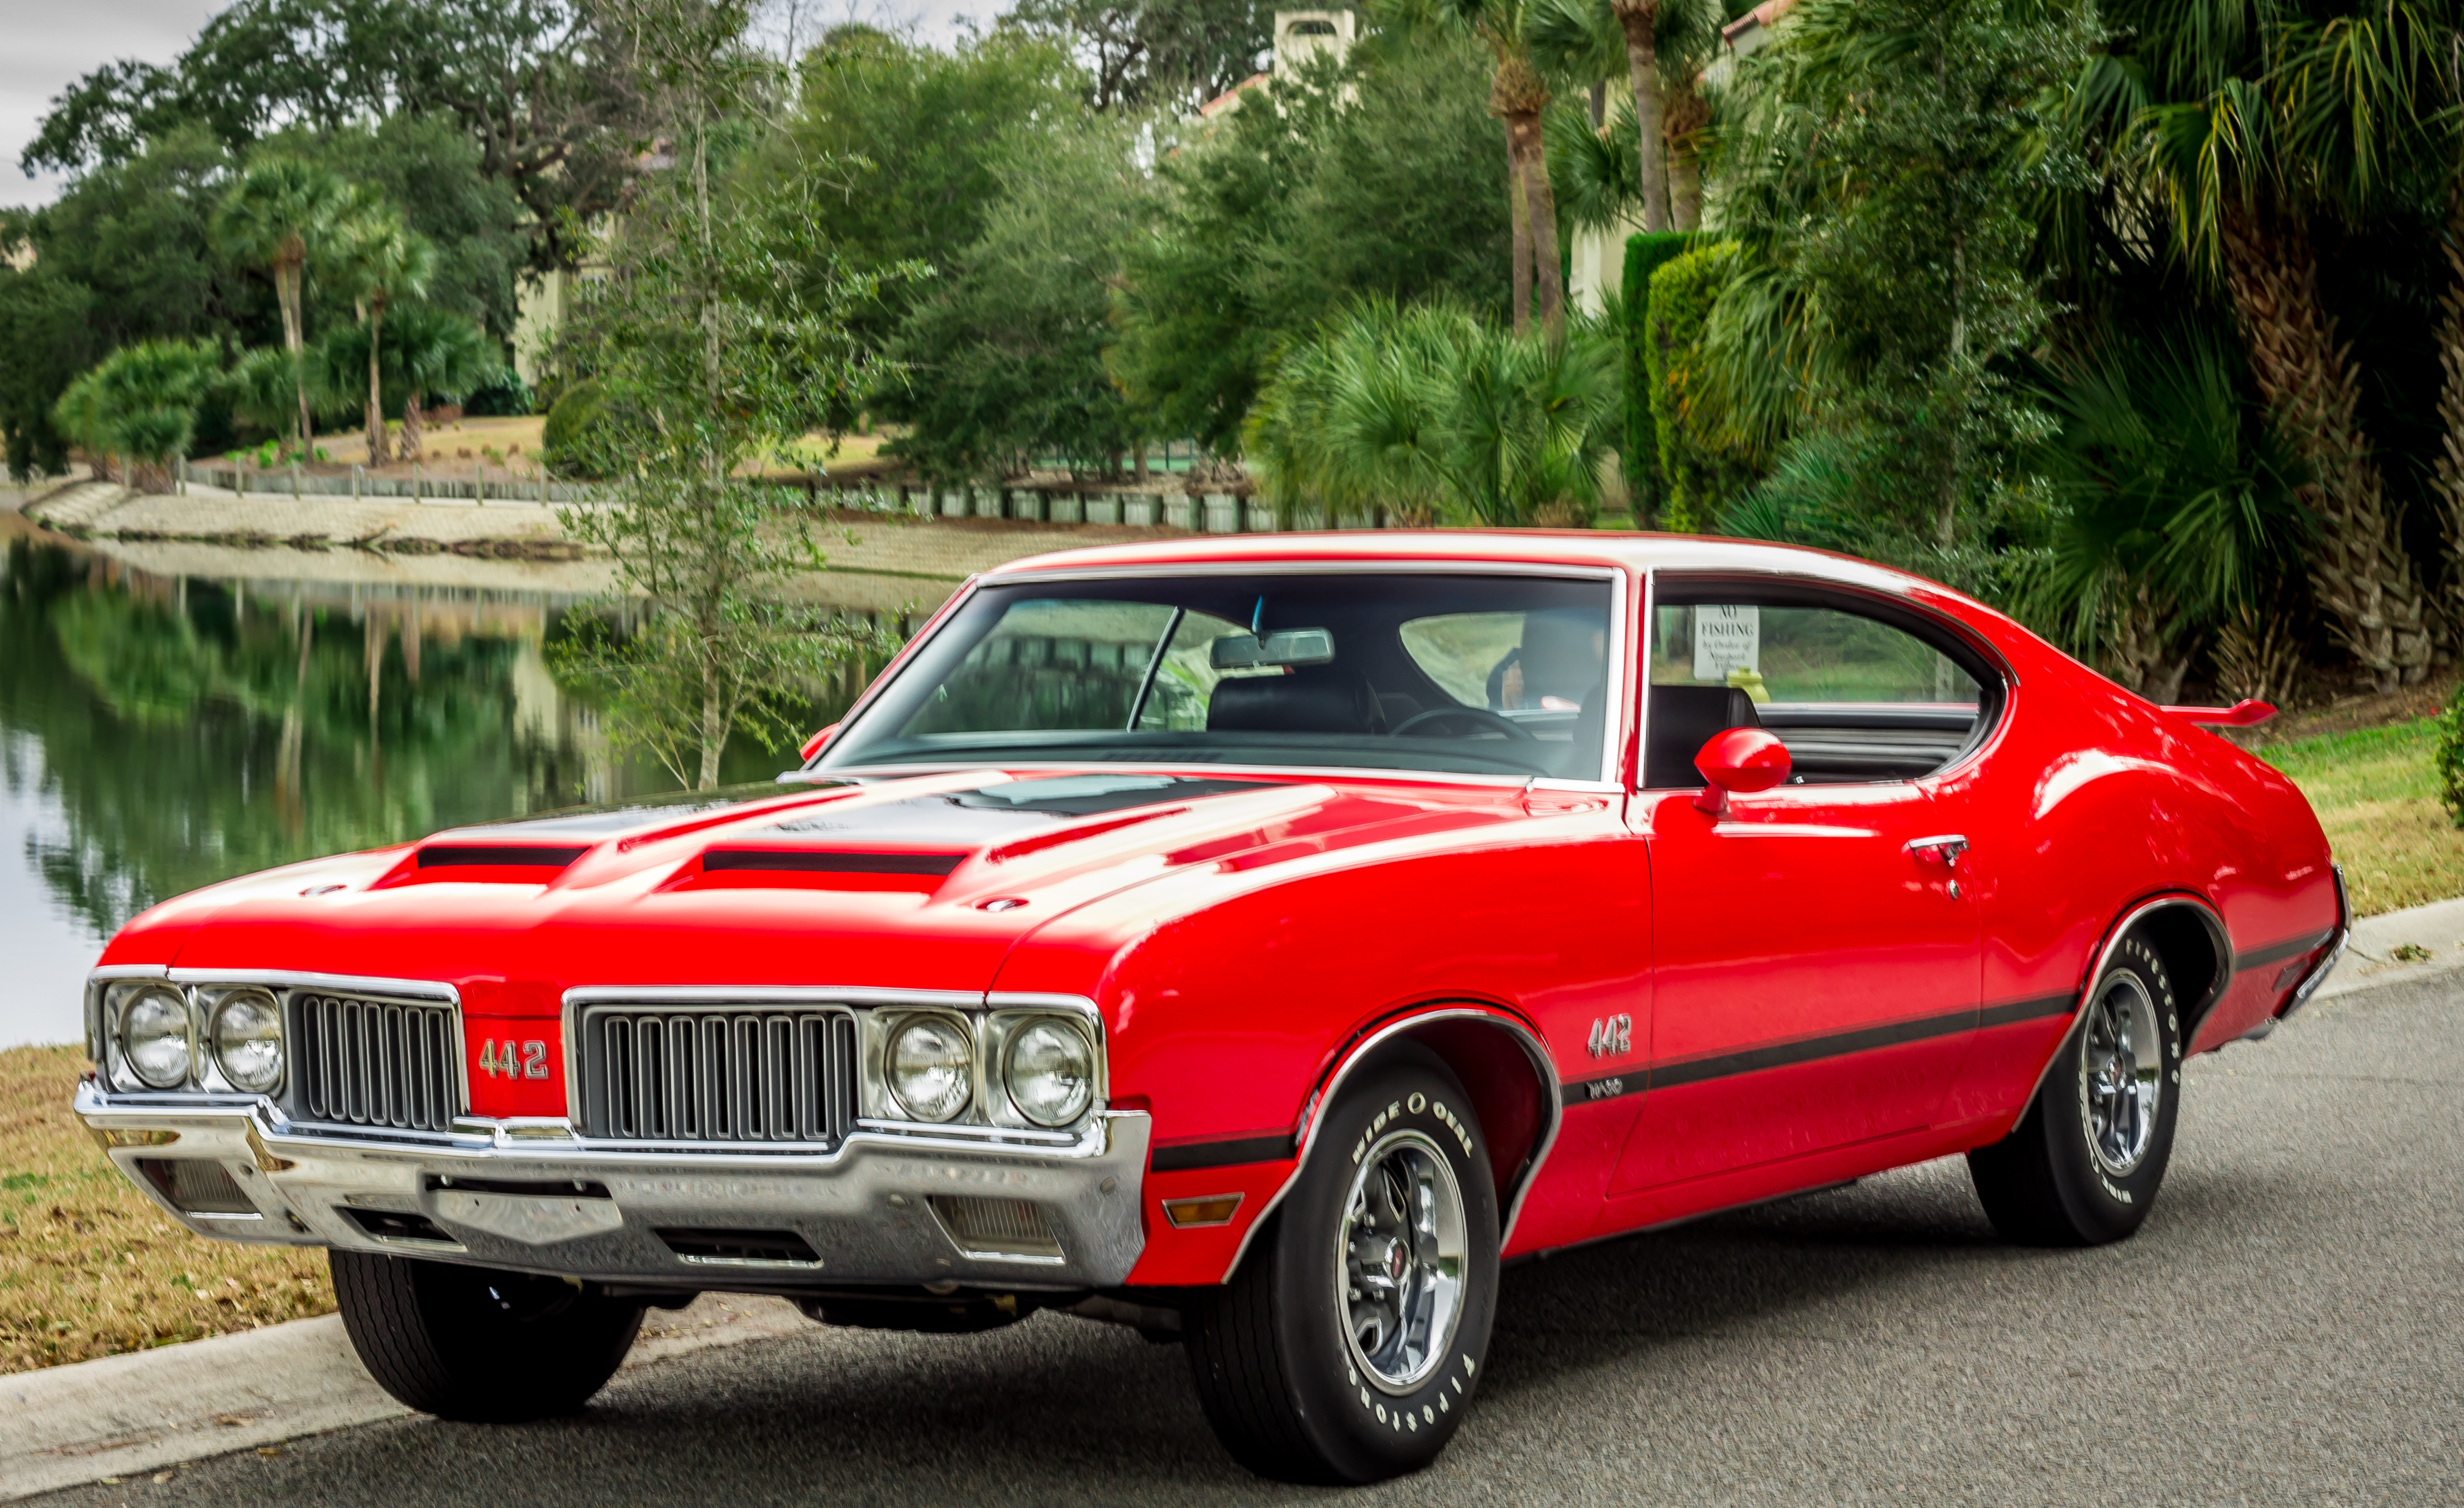
Our work paid off. With Gene’s help the car turned out great. It was now time to enjoy the fruits of our labor.

Nice job Phil. The car looks great!
Jim
By: bobsledjim on March 21, 2015
at 2:29 pm
Thanks, Jim. It was a fun winter project.
By: Phil's Classic Chevys on March 22, 2015
at 11:25 pm
Nice write up on the car. I really enjoyed working on it with you.
Gene
By: Gene Kennedy on March 24, 2015
at 12:46 pm
Thanks, Gene. Your help was greatly appreciated!
By: Phil's Classic Chevys on March 24, 2015
at 3:57 pm